Ceiling Fan Cleaning 101

Ceiling Fan Cleaning 101

Ceiling fans are a great way to keep your home comfortable, especially during warmer months. However, they can quickly accumulate dust and dirt, which can affect their performance and air quality. You have to clean them regularly to keep them working efficiently, but it doesn’t have to be a complicated task. Whether you rely on house cleaning services in Ankeny or tackle this on your own, this guide can help you do the job efficiently. It’s time to learn the best way to clean your ceiling fan and the tips for keeping your fan blades dust-free.

What is the best way to clean a ceiling fan?

Cleaning your ceiling fan may seem like a hassle at first, but with a few simple steps, you can get it done quickly and easily. Here’s a step-by-step guide:

1. Turn off the fan

Before you start, make sure to turn off the fan and wait for the blades to stop moving completely. This step is important for your safety and ensures you can wipe without worrying about the blades spinning unexpectedly.

2. Get the right tools

You’ll need a few basic tools to do this effectively:

 • A sturdy ladder or step stool to reach the fan

 • A microfiber cloth or duster (microfiber works best because it traps dust)

 • A damp cloth for wiping down blades

 • A dry cloth to wipe the blades dry after

Make sure your tools are within reach before you start so you don’t have to keep climbing down to grab something.
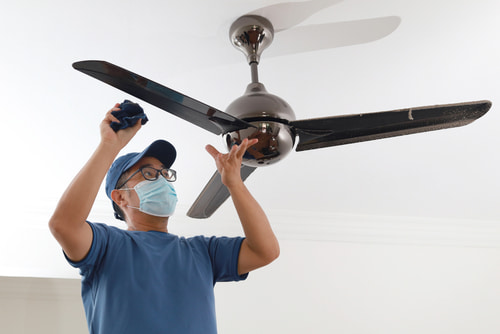
3. Wipe the blades

Using a microfiber cloth, gently wipe each fan blade from top to bottom. It’s best to wipe in a downward motion to prevent dust from falling on the areas you’ve already cleaned. If the blades are very dusty, dampen the cloth with a small amount of water or a mild product, but avoid soaking the cloth to prevent water dripping onto the floor.

If the blades are sticky or have grease buildup, use a mixture of warm water and a mild dish soap. Wipe each blade gently, making sure to get into all the nooks and crannies.

4. Deep clean the blades (if necessary)

If there’s a lot of buildup or grime, you can use a slightly stronger solution. Mix warm water and a small amount of vinegar or mild dish soap. Dampen the cloth with this solution and wipe the blades until the dirt is gone. Be sure to dry each blade thoroughly with a dry cloth to prevent streaks and water damage.

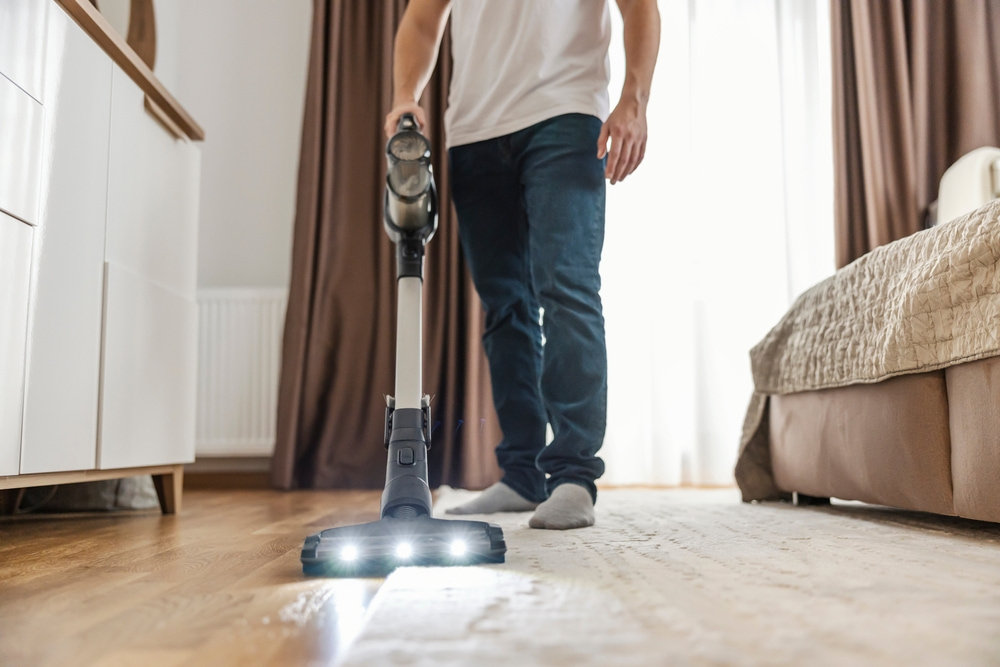
5. Use a vacuum cleaner for hard-to-reach areas

Sometimes, dust and dirt collect in hard-to-reach areas, like around the fan housing or in the motor. Use a vacuum with a soft brush attachment to gently take care of these areas. Be careful not to apply too much pressure or disturb the fan’s motor components.

How do you keep fan blades dust-free?

Maintaining a dust-free fan isn’t as hard as it sounds. There are several easy ways to keep your fan blades cleaner for longer between appointments or your own cleanups.

1. Regular dusting

To prevent heavy buildup, wipe the blades with a microfiber cloth every week or two. This will help keep dust from accumulating and reduce the amount of work needed later. Regular dusting is quick and keeps your fan working efficiently.

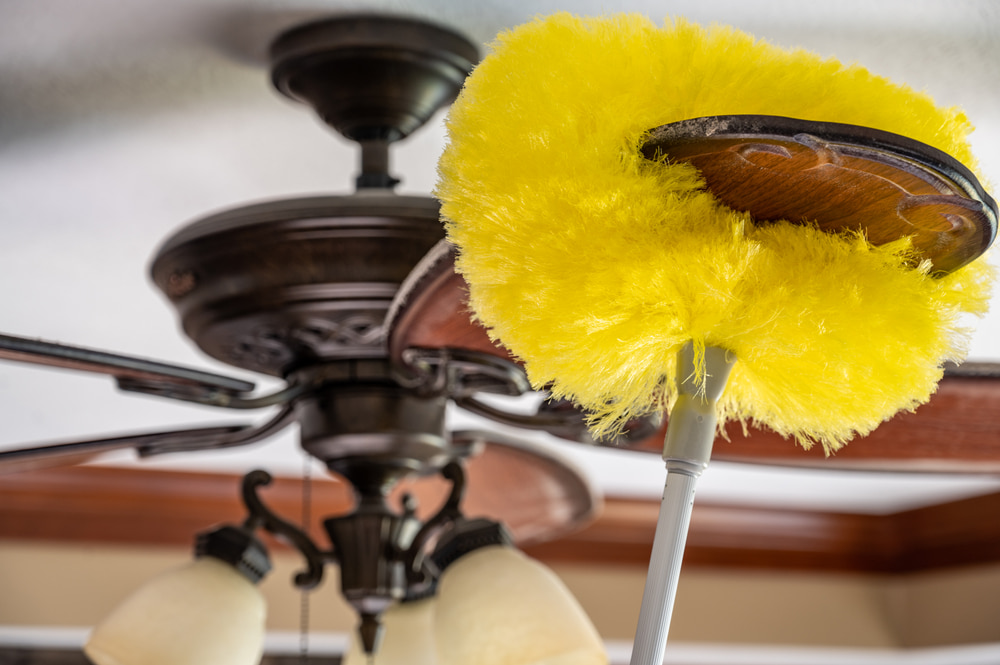
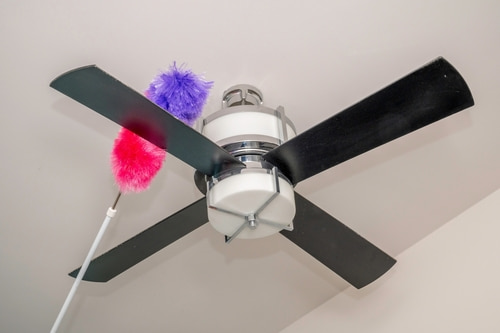
2. Use a ceiling fan blade cleaner

A specialized fan blade duster is a great tool for keeping your blades dust-free. These dusters are designed to fit the shape of fan blades so they can trap dust as you wipe them. Many models are adjustable to fit different fan sizes which makes them easy to use and effective in capturing dust.

3. Control dust in your home

The less dust in the air, the less dust your fan will collect. Consider using an air purifier, vacuuming carpets regularly, and wiping down other surfaces in the room. The better the air quality, the less often you’ll need to take care of your ceiling fan.

4. Adjust the fan speed

Running your fan at a slower speed can help reduce the amount of dust drawn into the blades. High fan speeds can stir up dust in the room and cause it to stick to the blades. Keeping the fan on a low speed can help you minimize this.

How do I find reliable house cleaning services in Ankeny and the surrounding area?

If tackling your ceiling fan seems like a hassle or you simply don’t have the time, we’re here to help. Our experienced technicians at phClean are available to take care of everything, from ceiling fans to the rest of your home. You can even ask our kind technicians for advice, whether it’s about how to clean your delicate items, how to maintain your vacuum, or wash your other cleaning tools, and more. From the center of Ankeny to the homes around Iowa State University and beyond, you can rely on us. Let us handle the dirty work, so you can enjoy a spotless home without the stress. Reach out today to book an appointment and enjoy your space at its best!

Search blog posts
Recent Posts

Top Vacuum Cleaning Mistakes

Top Vacuum Cleaning Mistakes

A vacuum cleaner is one of the most important tools for keeping your home tidy. However, like any appliance, it needs proper care and maintenance to perform at its best. Over time, many homeowners make common mistakes that can damage their vacuums or reduce their effectiveness. Even if you’re one of the homeowners in Ankeny who rely on professional cleaning services for this, it’s still important to know this for when you’re using the vacuum yourself. It’s time to learn about some of the top vacuum cleaning mistakes people make, what will ruin a vacuum, and more.

What will ruin a vacuum?

Vacuums are built to last, but certain habits can quickly lead to damage. Here are some common mistakes that can ruin your vacuum:

1. Vacuuming large debris

Vacuums are designed to pick up small particles like dust, dirt, and pet hair, but they aren’t meant to handle large debris like chunks of food, gravel, or large pieces of paper. Running over large objects can clog the vacuum’s hose, damage the motor, and cause the belt to snap. Always check the area before you start vacuuming and pick up larger debris by hand to avoid causing damage.

2. Using the vacuum on wet surfaces

Vacuuming wet floors or spills is a big no-no. Most vacuums are not designed to handle moisture, and trying to clean up wet messes can ruin the motor or cause electrical issues. If you need to handle a spill, it’s best to wipe it up with a towel before using your vacuum. Some vacuums are specifically designed to handle wet messes, so make sure to check the user manual if you’re unsure.

3. Vacuuming without checking the filters

Clogged filters are one of the most common reasons why vacuums lose suction. When the filter gets clogged, the vacuum can’t perform efficiently, which can cause overheating and potentially damage the motor. Regularly check and empty the filters to ensure your vacuum runs smoothly. If the filters are too dirty or damaged, they should be replaced to prevent further damage to your vacuum.

4. Overloading the vacuum bag or canister

A full vacuum bag or canister reduces suction power and forces the vacuum to work harder. If you keep vacuuming without emptying the bag or canister, the machine will overheat, and its performance will decline. Make it a habit to empty the vacuum regularly to maintain optimal performance.

5. Using the wrong attachments

Most vacuums come with a variety of attachments designed for different surfaces. Using the wrong attachment for a particular surface can not only reduce your cleaning efficiency but also cause damage to the vacuum. For example, using a floor brush on carpet may not clean as effectively, while using a beater bar on delicate upholstery can cause fabric damage.

Can you wash and reuse vacuum filters?

Many vacuums come with washable filters, which can be a great way to save money and keep your vacuum running smoothly. However, not all filters can be washed, so it’s important to check the manufacturer’s instructions. For those that can be washed, here are a few tips to do it properly:

1. Turn off and unplug the vacuum

Before removing and washing the filter, always unplug the vacuum to avoid any accidents. This is an important safety step.

2. Remove the filter carefully

Carefully remove the filter from its compartment. Be gentle to avoid damaging the filter or any other parts of the vacuum. Protect your face with a mask, since it’s not good to breathe in the contents of the bag.

3. Wash with water (no soap)

In most cases, it’s best to wash the filter with just water. Use cool or lukewarm water, and gently rinse the filter under the faucet. Avoid using any soap or harsh chemicals, as they can leave behind residues that may clog the filter.

4. Let the filter dry completely

After washing the filter, it’s important to let it dry completely before putting it back in the vacuum. A damp filter can lead to mold growth or cause the vacuum to malfunction. Lay the filter out on a clean, dry surface and allow it to air dry for several hours or even overnight.

5. Check the filter regularly

Even if your filter is washable, it’s important to check it regularly for wear and tear. If the filter is damaged or doesn’t work properly, it’s time to replace it.

Where in Ankeny and the surrounding area can I find dependable cleaning services?

If you’d rather leave your house maintenance to the professionals, phClean is here to help! Our respectful and dedicated technicians can assist with everything you may need to get your space to shine. You can rely on them for anything from specifics like ceiling fan cleaning or wiping down delicate items to advice on how to maintain your cleaning tools. Whether you live right here in Ankeny or in a nearby city like Ames, you can count on our help. Get in touch today to keep your home spotless without the hassle!

Search blog posts
Recent Posts
No local business schema markup set up yet