Your Guide to Microwave Cleaning
Microwaves make life easier, but they can get pretty grimy with daily use. Food splatters, sauces explode, and sometimes, mysterious sticky substances appear out of nowhere. Besides being unpleasant to look at, a dirty microwave can even impact how well your food heats and may even harbor bacteria. Fortunately, keeping your microwave clean doesn’t require harsh chemicals or hours of scrubbing. Whether you usually rely on professional house cleaning services in Windsor Heights for this task or want to tackle it on your own, it’s time to learn how to banish those lingering odors and stubborn food splatters
Ready to transform your microwave from a mess to a marvel? Let’s dive into the most effective cleaning methods and helpful tips for keeping the microwave sparkling.
What is the best way to clean the inside of a microwave?
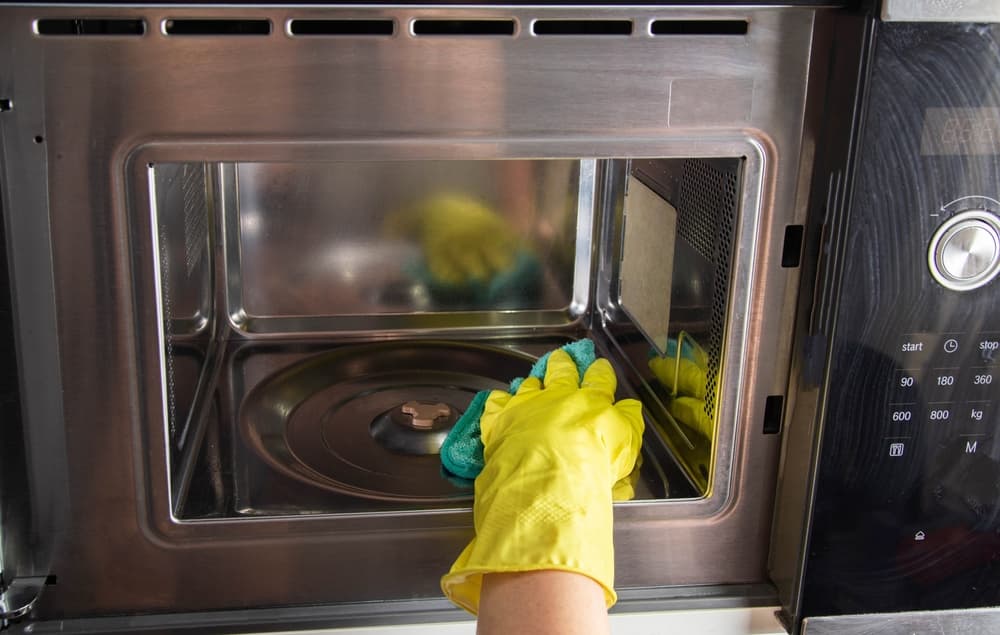
One of the quickest ways to make your microwave fresh and shiny is to use steam to loosen food particles and stains. You can start by filling a microwave-safe bowl with about a cup of water and adding either a splash of white vinegar or a few drops of your preferred all-purpose cleaner. Vinegar works well for tackling grease, while an all-purpose cleaner can cut through tougher grime. All you have to do now is put the bowl in the microwave and heat on high for five minutes, so that the steam can soften anything stuck to the interior walls.
When the timer goes off, leave the door closed for a couple of minutes to let the steam continue working. Carefully remove the bowl and use a damp, good-quality microfiber cloth or sponge to wipe down the interior. Most grime will wipe off easily, but for any stubborn spots, dip your cloth in the warm solution and gently scrub as needed. Make sure to avoid abrasive scrubbing pads, as they may scratch the surface.
For a deeper clean, a few sprays of standard kitchen degreaser can work wonders. Simply spray onto any stubborn areas (avoiding any vents), let it sit for a minute, and wipe it off. Professionals might use stronger degreasers or disinfectants for particularly messy microwaves, but even regular products can be effective for routine maintenance.
Is it better to clean the microwave with lemon or vinegar?
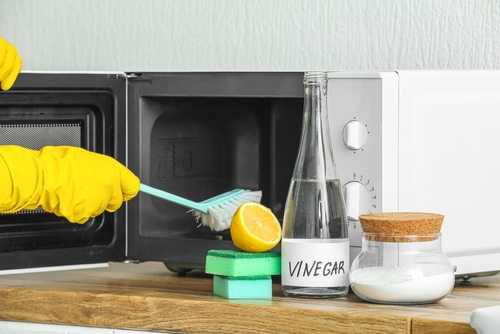
When it comes to choosing between lemon and vinegar for your microwave, it really boils down to personal preference. Both are effective, but each offers a slightly different experience.
Lemon
Lemon is a popular choice because it leaves behind a fresh, citrusy scent. Its mild acidity is great for freshening up the microwave and tackling light stains. Simply cut a lemon in half, squeeze the juice into a bowl of water, toss in the lemon halves, and microwave it for a few minutes. The steam will loosen any food splatters, which can then be easily wiped off.
White vinegar
White vinegar, on the other hand, packs a bit more of a punch when it comes to cleaning power. While it might not have the most appealing aroma, its stronger acidity is perfect for tackling tougher, baked-on grime. Just add a tablespoon of vinegar to a bowl of water and microwave it for a few minutes. The resulting steam will soften stubborn residue. Don’t worry – the vinegar smell fades quickly, especially after wiping down the interior.
In professional kitchens where microwaves get a real workout, vinegar is often the go-to choice for heavy-duty sanitization. But for everyday messes, both lemon and vinegar work wonders.
Extra tips for keeping your microwave clean
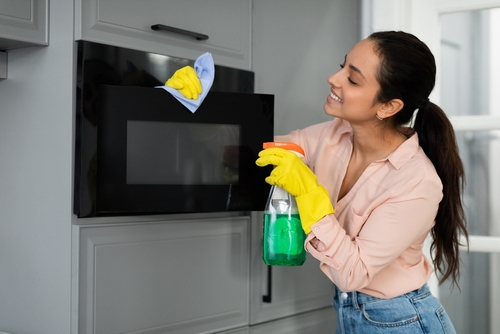
Don’t forget the exterior and removable parts of your microwave. The door handle, control panel, and exterior surfaces can pick up grease and fingerprints, so you should make sure to wipe them down regularly with a multi-surface solution or disinfecting wipe.
As for the turntable, you can take it out and wash it with dish soap in the sink to remove any stuck-on food. This is especially helpful for preventing odors and avoiding cross-contamination when heating different foods. Many pros recommend scrubbing down the microwave weekly to stay ahead of any grime or residue. For a thorough job, pay special attention to the vent area and door seal, as these areas can trap food particles and impact the microwave’s performance.
To keep future maintenance easier, you can cover your food with a microwave-safe cover or paper towel when heating to minimize splatters. This simple step can prevent a lot of the build-up and make your routine that much simpler.
How do I find dependable house cleaning services in Windsor Heights and the surrounding area?
We know that life gets busy, and appliance upkeep can slip through the cracks. If you’d rather leave it to the pros, phClean is here to help! Our dedicated, respectful, and reliable cleaning technicians will take care of your home as if it were their own. You can count on us to make every corner of your space sparkle, from the bottom of the baseboards to the insides of your oven to the tops of the furnishings. Whether you live close to Colby Woods Park or in the center of Windsor Heights, we’re here for you. Contact us today to schedule an appointment and enjoy the peace of mind that comes with a shiny home!