Pet Hair Cleaning Hacks

Pet Hair Cleaning Hacks

If you’re a pet owner, you know that shedding can be one of the biggest challenges. Whether it’s your clothes, furniture, or floors, pet hair seems to find its way into every nook and cranny. Luckily, there are plenty of simple and effective tricks that professional house cleaners in Alleman use to keep homes tidy and fur-free. Here are some top pet hair cleaning hacks that can make your life a lot easier.

How do you get rid of stubborn pet hair?

How do you get rid of stubborn pet hair

Here’s what you can do:

1. Use a damp sponge or rubber gloves on upholstery

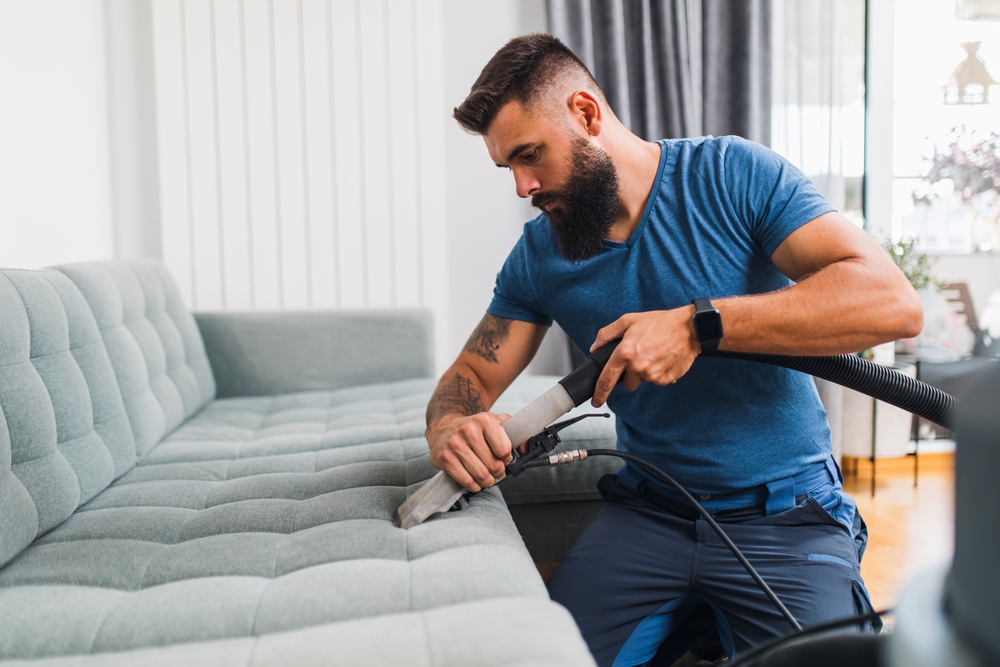
One of the easiest and most effective methods for removing pet hair from couches and chairs is to use a damp sponge or a pair of rubber gloves. Simply dampen the sponge or put on the gloves, and run your hands over the surface of the upholstery. The hair will clump up and can easily be picked off or vacuumed up.

2. Invest in a high-quality vacuum

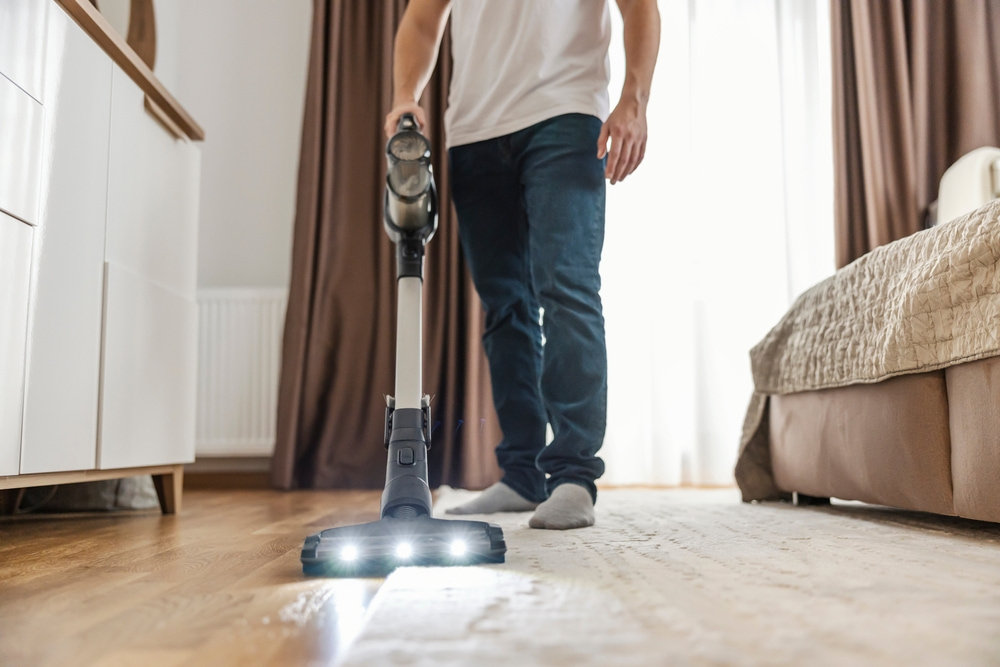
A good vacuum that’s designed to handle pet hair can be a game-changer. Look for vacuums with strong suction and specialized attachments like a pet hair brush or an upholstery tool. These features help lift hair from carpets and furniture more efficiently. Regular vacuuming, at least twice a week, can significantly reduce the amount of hair around your home.

3. Roll it away with a lint roller

Lint rollers aren’t just for your clothes. They are also great for quick touch-ups on small areas like cushions or the seats of your car. For a more eco-friendly option, consider reusable lint brushes, which have the same effect but can be used repeatedly.

4. Use throw covers or blankets

Protect your furniture by using washable covers or blankets in the spots where your pet likes to lounge. This not only keeps the fur off the fabric but also makes maintenance much easier. When they start to look a bit hairy, just toss them in the wash.

5. Anti-static spray on surfaces

Pet hair sticks to surfaces because of static electricity. Using an anti-static spray on your furniture and carpets can help prevent hair from clinging. Alternatively, a light misting with water can help reduce static and make it easier to remove the hair with a brush or vacuum.

6. Dryer sheets to the rescue

Dryer sheets can help pick up pet hair from various surfaces. Lightly rub a dryer sheet over areas where pet hair accumulates. The sheets are designed to reduce static, so they help lift the hair and leave behind a fresh scent.

7. The squeegee trick

For tough-to-clean surfaces like carpets and rugs, use a squeegee. The rubber blade is perfect for pulling up embedded fur. Just run it along the carpet as you would on a window, and you’ll gather up piles of hair to vacuum up.

8. Brush your pet regularly

Prevention is key when it comes to pet hair. Regular brushing reduces the amount of hair that your pets shed around the house. Depending on the type of coat your pet has, you might need to brush them daily. Use an appropriate grooming tool and make a routine out of it. It’s also a great way to bond with your pet!

9. Upgrade your laundry routine

Add a half-cup of white vinegar to your laundry during the rinse cycle. The vinegar helps to relax fabric fibers and release pet hair, which can then be caught by the lint trap in your dryer. Also, make sure to clear out your dryer’s lint trap regularly to maximize efficiency and reduce fire hazards.

10. Keep pet hair removal tools handy

Store lint rollers, rubber gloves, and squeegees in convenient locations around your home. This makes it easy to do quick clean-ups as needed and maintain a fur-free environment without much hassle.

How do I find experienced house cleaners in Alleman and the surrounding area?

experienced house cleaners in Alleman

Look no further than phClean. Our committed and skilled team of technicians will carefully take care of every nook and cranny in your home. This includes removing those stubborn pet hairs from your furniture, carpets, and overlooked corners. We can tackle anything, from beautiful marble floors to sensitive wooden furniture. We cover all of Alleman, from the homes around the Local TV Iowa Tower Alleman to the other part of the city. Get in touch with us today to get started!

Search blog posts
Recent Posts

The Dos and Don’ts of Cleaning Upholstery

The Dos and Don’ts of Cleaning Upholstery

We all want our upholstered furniture to look its best, but sometimes the best intentions can actually cause damage. Keeping your furniture in a tip-top condition means knowing what not to do as much as what to do. Whether you rely on professional house cleaning services in Alleman, IA or prefer to take care of your furniture yourself, it’s important to know how to protect your investment and keep your furniture looking great longer. Let’s go over the most common upholstery cleaning mistakes and the best practices to follow instead.

What should not be done when cleaning upholstered furniture?

Here’s what you need to avoid:

Don’t use excessive water

Too much water can do more harm than good. It might seem effective at first, but it can soak into the cushions, which can then lead to unpleasant odors and even mold. Always use just enough moisture to dampen the fabric and ensure your room is well-ventilated to help things dry out faster.

Avoid harsh chemicals

Strong chemicals might promise powerful results, but they can be too harsh for delicate upholstery fabrics. They can fade colors and weaken fibers, leading to premature wear. Always pick mild, upholstery-friendly products, and don’t forget to spot test them in a hidden area first to make sure they won’t cause damage.

Never skip the manufacturer’s instructions

Every piece of furniture comes with a set of care instructions that are specifically tailored to its materials. Skipping these can lead to costly mistakes. Always check the manufacturer’s guidelines before applying any product.

Do not rub stains vigorously

A vigorous approach might be tempting when you’re trying to remove a stubborn stain, but it can actually push the spill deeper into the fabric. Instead, blot gently with a fresh, absorbent cloth, working from the outside of the stain inward to avoid spreading it.

What is the best way to clean upholstery fabric?

Here’s what to do instead:

Vacuum regularly

A simple vacuuming with an upholstery attachment can capture an amazing amount of dirt and dust that, if left unchecked, can wear down your furniture’s fabric. Make it a habit to vacuum at least once a week, or more often if your home includes pets or kids.

Spot clean spills immediately

The sooner you tackle a spill, the less time it has to set into the fabric. Use a fresh cloth to gently dab at the spill until you’ve absorbed as much as possible. For more stubborn stains, consult the care tag for advice on which products are safe to use.

Use appropriate products

You can usually check if a product is safe for your type of upholstery on its care tag, if it has one. Look for ‘W’, ‘S’, or ‘WS’ to see if you should use a water-based or solvent-based product. This is extremely important, as solvent-based solutions are extremely strong and could ruin materials that they’re not appropriate for. You can use a simple solution of mild dish soap and water for fabrics marked with ‘W’.

Dry properly

It’s important to let your furniture dry completely to avoid any mildew or mold issues. Open windows or use a fan to circulate air and speed up the drying process. Don’t use the furniture until it’s fully dry.

How do I find reliable house cleaning services in Alleman, IA and the surrounding area?

What is the best way to clean upholstery fabric?

phClean is here to make your space shine! Our dedicated, respectful and kind technicians will do their best to make your home look and smell amazing. If you need us to pay special attention to something, just let us know. For example, some clients want us to give their windows a little extra care to make them spotless, while others want us to carefully tackle their marble countertops. Whether you live close to the KCCI Tower in Alleman or in one of the surrounding cities, you can count on our help. Reach out today to schedule your next appointment and keep your home looking welcoming and beautiful!

Search blog posts
Recent Posts

How to Clean Delicate Surfaces

How to Clean Delicate Surfaces

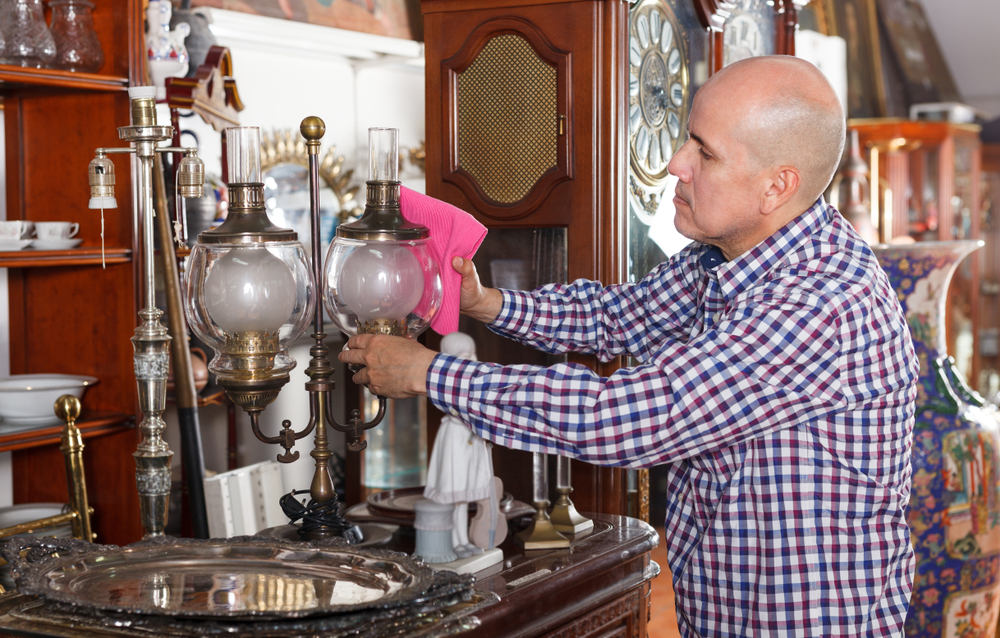
We all have those items in our homes that we cherish. Maybe it’s a beautiful vase passed down from your grandmother, a delicate porcelain figurine, or an antique mirror with an ornate frame. These pieces often require a gentler approach than just a quick wipe-down. If you’re in Ankeny, you can simply get professional house cleaning services and not worry about it, but you might still want to know how to do this without professional help.

Knowing how to take care of these delicate surfaces without causing damage can feel a bit intimidating, but it doesn’t have to be. With a little care and the right techniques, you can keep your precious possessions looking their best.

How to clean delicate surfaces?

How to clean delicate surfaces

The golden rule when taking care of delicate surfaces is gentleness. Think of it like handling a baby: soft touches and careful movements are key. Here are a few tips to keep in mind:

1. Regular dusting is your best friend

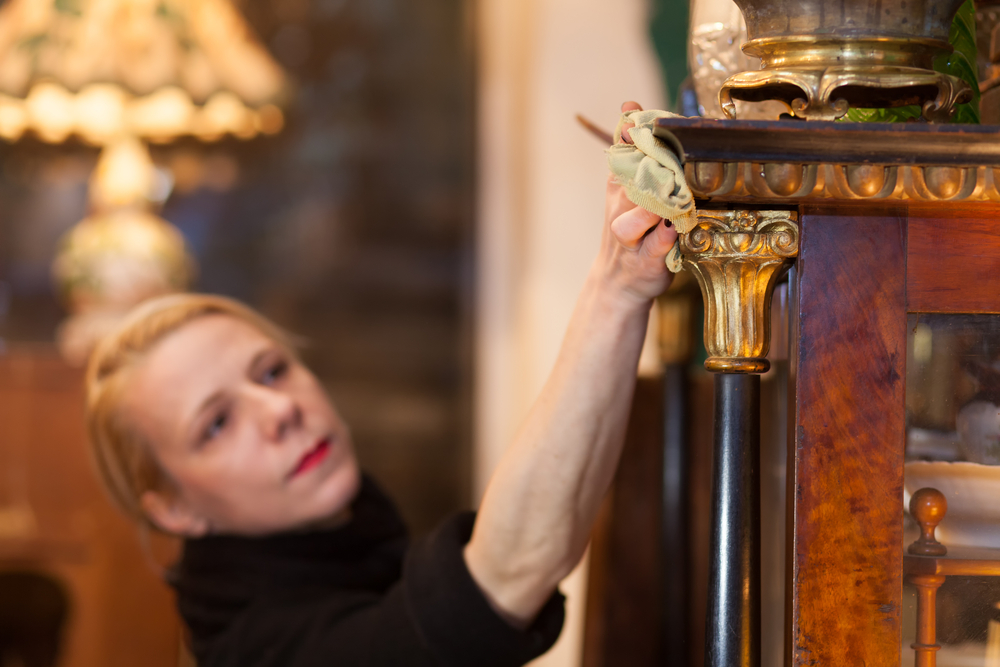
Dusting with a soft, dry cloth like microfiber will prevent dirt and grime from building up in the first place. This means you won’t have to resort to heavy-duty cleaning as often. For those intricate details or hard-to-reach nooks and crannies, a soft-bristled brush, like a makeup brush or a paintbrush, can work wonders.

2. Say no to harsh chemicals

Strong products, like bleach or ammonia-based solutions, can be too harsh for delicate materials and might cause discoloration, fading, or even damage. Instead, opt for mild soaps, such as dish soap, or products specifically designed for the material you’re working with. Always test any product in an inconspicuous area first before applying it to the entire surface.

3. Soft materials only

When it’s time to get to work, choose soft cloths, sponges, or cotton swabs. Avoid anything abrasive that could scratch or damage the delicate surface. Think soft cotton cloths, microfiber cloths, or even old T-shirts cut into gentle rags.

4. Be gentle, be patient

Don’t scrub vigorously or apply excessive pressure. Instead, use gentle wiping motions and let the product do its job. It’s better to be patient and repeat the process a few times than to risk damaging your precious item.

5. Dry immediately

After the cleanup, make sure to dry the surface thoroughly with a soft, absorbent cloth. This will prevent water spots, streaks, or any potential damage from moisture.

Now that you have the general idea, let’s look at a specific example: taking care of delicate glass.

How do you clean delicate glass?

How do you clean delicate glass

Glassware, especially antique or hand-blown pieces, can be incredibly fragile. Here’s how to wash delicate glass items safely:

  • Lukewarm water is perfect: Use lukewarm water, as hot water can sometimes cause the glass to crack. Think room temperature water: not too hot, not too cold.
  • Mild detergent is your friend: Add a few drops of mild dish soap to the water. You don’t need a lot, just enough to create a gentle cleaning solution.
  • Soft cloth or sponge: Use a soft cloth or sponge to gently wash the glass. Avoid any harsh scrubbing motions that might scratch the surface.
  • Avoid twisting stemmed glasses: When washing stemmed glassware, support the bowl with one hand while washing the stem with the other. This will prevent any twisting motions that could lead to breakage.
  • Air dry or pat dry: Allow the glass to air dry upside down on a drying rack. This will prevent water spots and ensure that the glass dries completely. If you’re in a hurry, you can carefully pat it dry with a soft, lint-free cloth.

Special cases

  • Antique or painted glass: If you’re dealing with antique glass or glass with delicate painted details, it’s always best to consult a professional cleaner. They have the expertise and experience to take care of these items without causing any damage.
  • Crystal clear: For crystal glassware, avoid using hot water, as it can sometimes cloud the glass. Instead, use lukewarm water and a specialized product to keep your crystal sparkling.

Where in Ankeny and the surrounding area can I find reliable house cleaning services?

Wish you could come home to a sparkling space every day? phClean can make that happen!  Our experienced and friendly cleaning technicians are committed to making your home shine from top to bottom. We handle all the tasks you dread, from dusty ceiling fans and clogged vacuum filters to those often-neglected cleaning tools that need a good refresh. No matter where you are in Ankeny, from Miracle Park to anywhere else, we’ll bring the sparkle without you having to lift a finger. Contact us today and reclaim your free time!

Search blog posts
Recent Posts

How to Take Care of Your Cleaning Tools

How to Take Care of Your Cleaning Tools

We all love a fresh and sparkling home, but have you ever stopped to think about the unsung heroes behind that shine? It’s our cleaning tools – the trusty mops, brooms, sponges, and brushes that work tirelessly to tackle dirt, grime, and germs. Just like any hardworking member of the team, they deserve a little care in return. Experienced house cleaners in Ankeny know that properly maintaining your tools not only extends their lifespan but also ensures they’re working effectively to keep your home truly tidy and healthy.

How to maintain cleaning tools?

How to maintain cleaning tools?

Think of your cleaning tools as an investment in your home’s hygiene. To get the most out of that investment, here’s how to show them some love:

1. Rinse and dry

This might seem like a no-brainer, but it’s the most important step. After each use, rinse your tools thoroughly under running water to remove any lingering dirt, debris, or cleaning solutions. This prevents buildup that can harbor bacteria and reduce the effectiveness of your tools. Don’t forget to dry them completely. Air drying is best, but you can also use a clean towel. This helps prevent mildew and that unpleasant musty smell.

2. Deep clean is key

While rinsing after each use is important, a deeper clean every now and then is essential for keeping your tools in top shape. For instance, you can soak your mop head in a bucket of warm water with a bit of detergent or disinfectant. Sponges can be thrown in the washing machine (on a hot cycle) or microwaved for a minute to kill bacteria. 

Just make sure that it’s wet and that it doesn’t have any metallic parts if you’re putting it in the microwave. Brushes can be scrubbed with soap and water, paying attention to the base where dirt and grime tend to accumulate.

3. Storage matters

Don’t just toss your tools in a dark, damp corner. Proper storage is also important to make them last longer. Hang up brooms and mops to prevent the bristles from getting bent or damaged. Store sponges in a well-ventilated area to allow them to dry completely. Keep cloths folded neatly in a drawer or basket.

4. Inspect regularly

Make it a habit to regularly inspect your tools for any signs of wear and tear. Are the bristles on your brush frayed or broken? Is your mop head looking discolored and worn out? Is your vacuum losing suction? Replacing worn-out tools or parts will ensure you’re working effectively and efficiently.

How often should you clean your cleaning tools?

The frequency depends on how often you use your tools and the type of work you do. Here’s a general guideline:

  • Daily routine: Tools that come into contact with food and grime, like sponges, dishcloths, and dustpans, should be rinsed and dried after each use.
  • Weekly refresh: Give your mops and brooms a thorough cleanup once a week, especially if you use them frequently. This prevents dirt buildup and keeps them smelling fresh.
  • Monthly deep clean: Set aside some time each month to deep clean all your tools, including brushes, buckets, and spray bottles. This helps prevent bacteria buildup and ensures your tools are hygienic.
  • Replace as needed: Don’t wait until your cleaning tools are completely falling apart. Replace worn-out tools or parts as soon as you notice any damage. This will save you frustration and ensure you’re working effectively.

How do I find dependable house cleaners in Ankeny and the surrounding area?

How often should you clean your cleaning tools?

Want a spotless home without the hassle? phClean is here to help! With years of experience under our belt and a dedication to your satisfaction, you can rest assured that we won’t leave until your space looks and smells amazing. Our detailed and respectful technicians can handle everything from ceiling fan cleaning and advice on vacuum maintenance to safely cleaning your most delicate surfaces. Whether you’re near Sunrise Park or in another part of Ankeny, you can count on us. Contact us today for a sparkling home without lifting a finger!

Search blog posts
Recent Posts

Ceiling Fan Cleaning 101

Ceiling Fan Cleaning 101

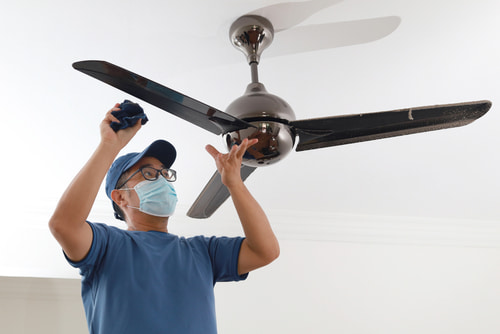
Ceiling fans are a great way to keep your home comfortable, especially during warmer months. However, they can quickly accumulate dust and dirt, which can affect their performance and air quality. You have to clean them regularly to keep them working efficiently, but it doesn’t have to be a complicated task. Whether you rely on house cleaning services in Ankeny or tackle this on your own, this guide can help you do the job efficiently. It’s time to learn the best way to clean your ceiling fan and the tips for keeping your fan blades dust-free.

What is the best way to clean a ceiling fan?

Cleaning your ceiling fan may seem like a hassle at first, but with a few simple steps, you can get it done quickly and easily. Here’s a step-by-step guide:

1. Turn off the fan

Before you start, make sure to turn off the fan and wait for the blades to stop moving completely. This step is important for your safety and ensures you can wipe without worrying about the blades spinning unexpectedly.

2. Get the right tools

You’ll need a few basic tools to do this effectively:

 • A sturdy ladder or step stool to reach the fan

 • A microfiber cloth or duster (microfiber works best because it traps dust)

 • A damp cloth for wiping down blades

 • A dry cloth to wipe the blades dry after

Make sure your tools are within reach before you start so you don’t have to keep climbing down to grab something.

3. Wipe the blades

Using a microfiber cloth, gently wipe each fan blade from top to bottom. It’s best to wipe in a downward motion to prevent dust from falling on the areas you’ve already cleaned. If the blades are very dusty, dampen the cloth with a small amount of water or a mild product, but avoid soaking the cloth to prevent water dripping onto the floor.

If the blades are sticky or have grease buildup, use a mixture of warm water and a mild dish soap. Wipe each blade gently, making sure to get into all the nooks and crannies.

4. Deep clean the blades (if necessary)

If there’s a lot of buildup or grime, you can use a slightly stronger solution. Mix warm water and a small amount of vinegar or mild dish soap. Dampen the cloth with this solution and wipe the blades until the dirt is gone. Be sure to dry each blade thoroughly with a dry cloth to prevent streaks and water damage.

5. Use a vacuum cleaner for hard-to-reach areas

Sometimes, dust and dirt collect in hard-to-reach areas, like around the fan housing or in the motor. Use a vacuum with a soft brush attachment to gently take care of these areas. Be careful not to apply too much pressure or disturb the fan’s motor components.

How do you keep fan blades dust-free?

Maintaining a dust-free fan isn’t as hard as it sounds. There are several easy ways to keep your fan blades cleaner for longer between appointments or your own cleanups.

1. Regular dusting

To prevent heavy buildup, wipe the blades with a microfiber cloth every week or two. This will help keep dust from accumulating and reduce the amount of work needed later. Regular dusting is quick and keeps your fan working efficiently.

2. Use a ceiling fan blade cleaner

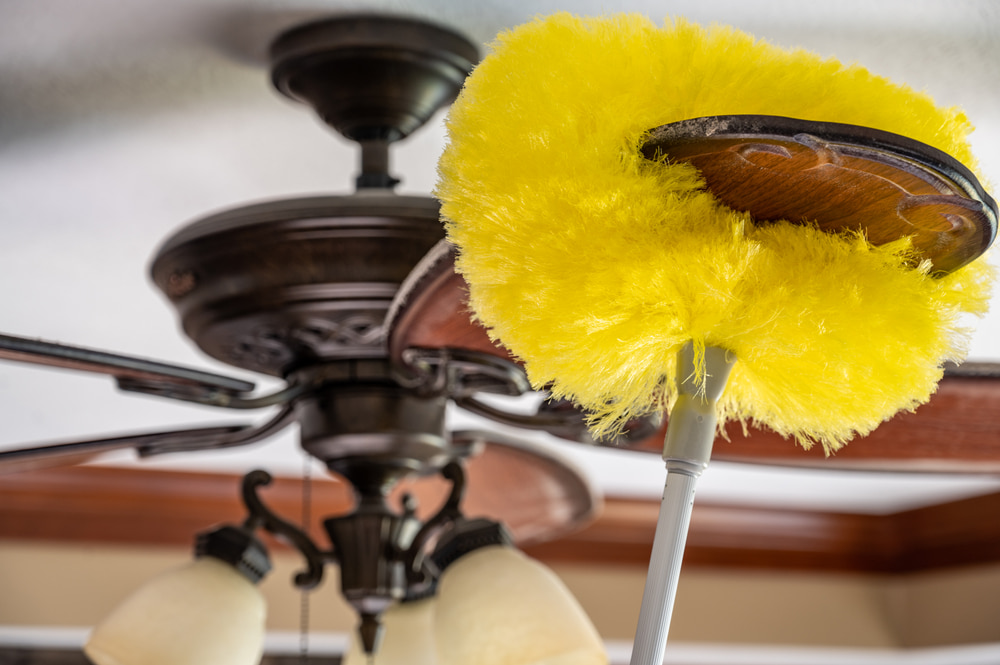
A specialized fan blade duster is a great tool for keeping your blades dust-free. These dusters are designed to fit the shape of fan blades so they can trap dust as you wipe them. Many models are adjustable to fit different fan sizes which makes them easy to use and effective in capturing dust.

3. Control dust in your home

The less dust in the air, the less dust your fan will collect. Consider using an air purifier, vacuuming carpets regularly, and wiping down other surfaces in the room. The better the air quality, the less often you’ll need to take care of your ceiling fan.

4. Adjust the fan speed

Running your fan at a slower speed can help reduce the amount of dust drawn into the blades. High fan speeds can stir up dust in the room and cause it to stick to the blades. Keeping the fan on a low speed can help you minimize this.

How do I find reliable house cleaning services in Ankeny and the surrounding area?

If tackling your ceiling fan seems like a hassle or you simply don’t have the time, we’re here to help. Our experienced technicians at phClean are available to take care of everything, from ceiling fans to the rest of your home. You can even ask our kind technicians for advice, whether it’s about how to clean your delicate items, how to maintain your vacuum, or wash your other cleaning tools, and more. From the center of Ankeny to the homes around Iowa State University and beyond, you can rely on us. Let us handle the dirty work, so you can enjoy a spotless home without the stress. Reach out today to book an appointment and enjoy your space at its best!

Search blog posts
Recent Posts

Top Vacuum Cleaning Mistakes

Top Vacuum Cleaning Mistakes

A vacuum cleaner is one of the most important tools for keeping your home tidy. However, like any appliance, it needs proper care and maintenance to perform at its best. Over time, many homeowners make common mistakes that can damage their vacuums or reduce their effectiveness. Even if you’re one of the homeowners in Ankeny who rely on professional cleaning services for this, it’s still important to know this for when you’re using the vacuum yourself. It’s time to learn about some of the top vacuum cleaning mistakes people make, what will ruin a vacuum, and more.

What will ruin a vacuum?

Vacuums are built to last, but certain habits can quickly lead to damage. Here are some common mistakes that can ruin your vacuum:

1. Vacuuming large debris

Vacuums are designed to pick up small particles like dust, dirt, and pet hair, but they aren’t meant to handle large debris like chunks of food, gravel, or large pieces of paper. Running over large objects can clog the vacuum’s hose, damage the motor, and cause the belt to snap. Always check the area before you start vacuuming and pick up larger debris by hand to avoid causing damage.

2. Using the vacuum on wet surfaces

Vacuuming wet floors or spills is a big no-no. Most vacuums are not designed to handle moisture, and trying to clean up wet messes can ruin the motor or cause electrical issues. If you need to handle a spill, it’s best to wipe it up with a towel before using your vacuum. Some vacuums are specifically designed to handle wet messes, so make sure to check the user manual if you’re unsure.

3. Vacuuming without checking the filters

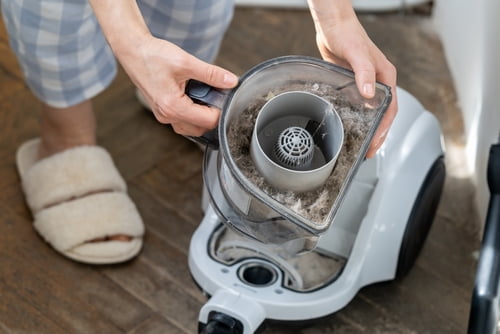
Clogged filters are one of the most common reasons why vacuums lose suction. When the filter gets clogged, the vacuum can’t perform efficiently, which can cause overheating and potentially damage the motor. Regularly check and empty the filters to ensure your vacuum runs smoothly. If the filters are too dirty or damaged, they should be replaced to prevent further damage to your vacuum.

4. Overloading the vacuum bag or canister

A full vacuum bag or canister reduces suction power and forces the vacuum to work harder. If you keep vacuuming without emptying the bag or canister, the machine will overheat, and its performance will decline. Make it a habit to empty the vacuum regularly to maintain optimal performance.

5. Using the wrong attachments

Most vacuums come with a variety of attachments designed for different surfaces. Using the wrong attachment for a particular surface can not only reduce your cleaning efficiency but also cause damage to the vacuum. For example, using a floor brush on carpet may not clean as effectively, while using a beater bar on delicate upholstery can cause fabric damage.

Can you wash and reuse vacuum filters?

Many vacuums come with washable filters, which can be a great way to save money and keep your vacuum running smoothly. However, not all filters can be washed, so it’s important to check the manufacturer’s instructions. For those that can be washed, here are a few tips to do it properly:

1. Turn off and unplug the vacuum

Before removing and washing the filter, always unplug the vacuum to avoid any accidents. This is an important safety step.

2. Remove the filter carefully

Carefully remove the filter from its compartment. Be gentle to avoid damaging the filter or any other parts of the vacuum. Protect your face with a mask, since it’s not good to breathe in the contents of the bag.

3. Wash with water (no soap)

In most cases, it’s best to wash the filter with just water. Use cool or lukewarm water, and gently rinse the filter under the faucet. Avoid using any soap or harsh chemicals, as they can leave behind residues that may clog the filter.

4. Let the filter dry completely

After washing the filter, it’s important to let it dry completely before putting it back in the vacuum. A damp filter can lead to mold growth or cause the vacuum to malfunction. Lay the filter out on a clean, dry surface and allow it to air dry for several hours or even overnight.

5. Check the filter regularly

Even if your filter is washable, it’s important to check it regularly for wear and tear. If the filter is damaged or doesn’t work properly, it’s time to replace it.

Where in Ankeny and the surrounding area can I find dependable cleaning services?

If you’d rather leave your house maintenance to the professionals, phClean is here to help! Our respectful and dedicated technicians can assist with everything you may need to get your space to shine. You can rely on them for anything from specifics like ceiling fan cleaning or wiping down delicate items to advice on how to maintain your cleaning tools. Whether you live right here in Ankeny or in a nearby city like Ames, you can count on our help. Get in touch today to keep your home spotless without the hassle!

Search blog posts
Recent Posts

The Ultimate Guide to Microfiber Cloths

The Ultimate Guide to Microfiber Cloths

Microfiber cloths have revolutionized cleaning practices around the world. Known for their durability and efficiency, these cloths offer superior results with minimal effort and environmental impact. Some homeowners in Windsor Heights believe that this doesn’t concern them and should be left to professional house cleaners to worry about. However, this knowledge is necessary even for people who rely on professionals. 

Whether you’re wiping down countertops or polishing your car, understanding how to properly use and care for microfiber cloths can extend their life and enhance their performance.

What is microfiber cloth best used for?

how do you maintain a microfiber cloth

Microfiber cloths consist of fibers finer than a strand of silk, enabling them to capture dirt, dust, and even microscopic bacteria efficiently. Here’s where they shine:

Dusting

Thanks to their static charge, microfiber cloths attract dust like magnets, perfect for tackling surfaces like wood furniture, window blinds, and electronics without any sprays.

Glass and mirror wiping

Achieve streak-free windows and mirrors with microfiber that leaves surfaces spotless and lint-free.

Polishing surfaces

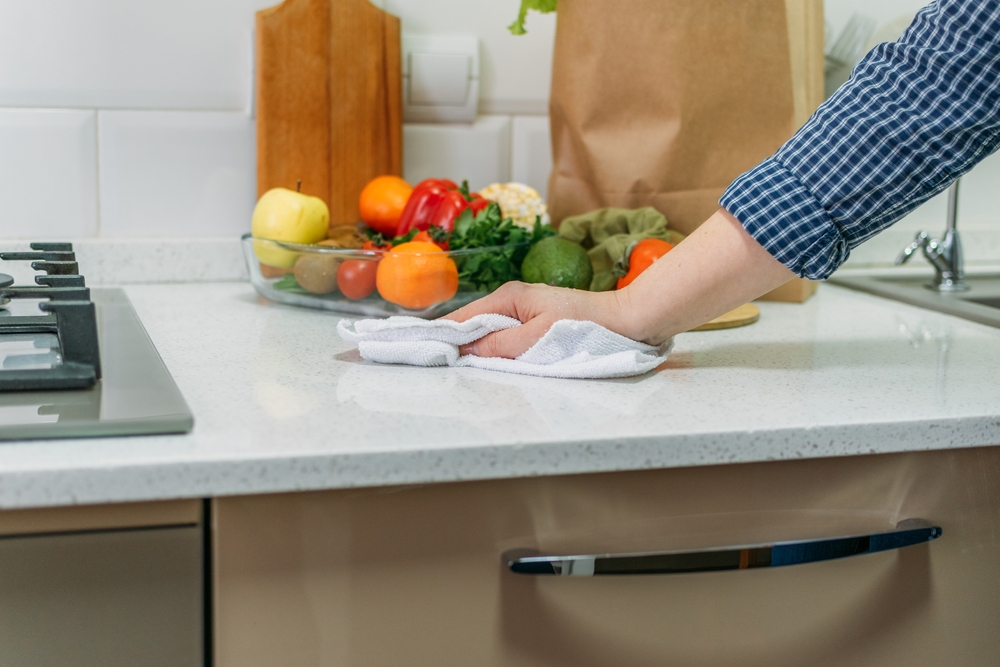
From stainless steel appliances to granite countertops, microfiber won’t scratch or damage your surfaces while leaving them shiny and smooth.

Spill cleanup

Highly absorbent, microfiber can soak up to eight times its weight in water, making it ideal for drying dishes, mopping up spills, or cleaning tough stains.

Floor cleanup

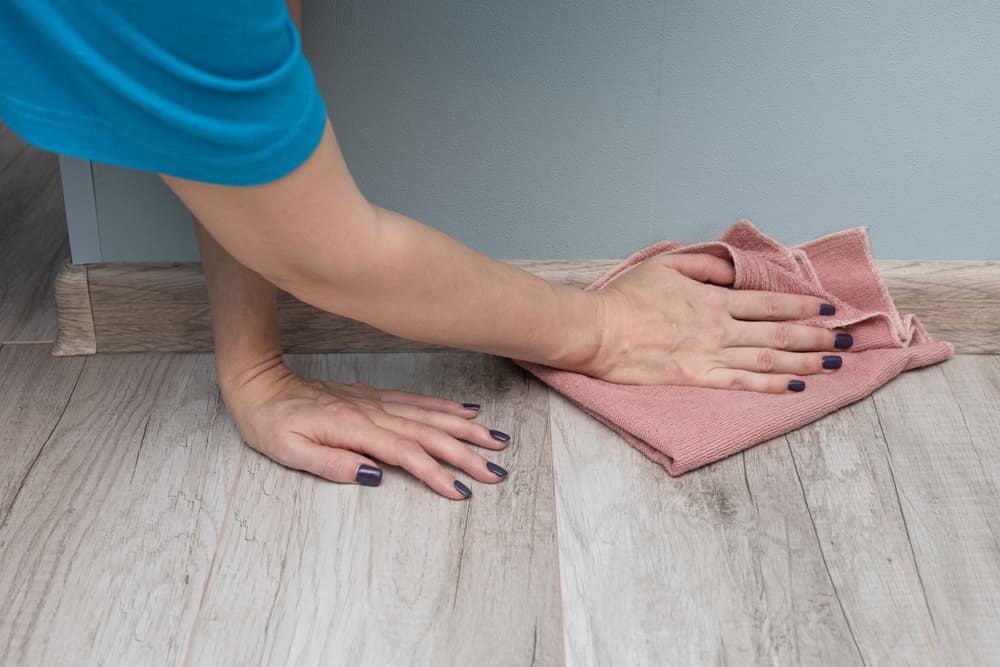
Whether you’re using a mop or your hands, microfiber is great at attracting and trapping dirt and moisture, leaving your floors spotless. You can also use these cloths to make your baseboards shine.

Microfiber’s versatility makes it invaluable not only in homes but also in professional settings like hospitals and hotels, where top-notch hygiene and efficiency are critical.

How do you maintain a microfiber cloth?

Keeping your microfiber cloths in tip-top shape is key to their longevity and effectiveness. Here are some care tips to help:

Regular washing

Always wash your microfiber cloths after use to prevent dirt buildup. Machine wash them with warm water and mild detergent, and remember, no fabric softeners or bleach, as they can ruin the fibers.

Proper drying

Air drying is the best way to keep the integrity of your microfiber cloths intact. If you’re in a hurry, a low heat setting on your dryer will do the trick without damaging the fibers.

Avoid mixing

Keep microfiber cloths separate from other laundry to prevent lint from other fabrics from sticking to them, which can reduce their power.

Effective storage

Store your cloths in a hygienic, dry spot. Proper storage ensures they are ready for action and maintain their quality.

If you follow these simple maintenance steps, your microfiber cloths will continue to be a powerful ally in your routine.

Where in Windsor Heights and the surrounding area can I find dependable house cleaners?

Windsor Heights house cleaners

Ready to experience a spotless home without lifting a finger? At phClean, we bring years of experience and expertise right to your doorstep. Our skilled technicians aren’t just experts in making your space shine – they do it with the utmost respect and kindness. We understand that your home is your sanctuary, which is why we treat every corner with care, whether we’re scrubbing down your oven or thoroughly wiping down your microwave

Choosing us means opting for a team that values professionalism and personalized service. Whether it’s a one-time deep clean or regular maintenance, we’re here to make your life easier and more organized. From right here in Windsor Heights to the surrounding cities like Urbandale, we’re here to help. Connect with us today and see why our clients trust us to keep their homes in perfect order. 

Search blog posts
Recent Posts

How to Clean Your Oven

How to Clean Your Oven

As Thanksgiving approaches, your oven is about to become one of the busiest appliances in your home. From roasting turkeys to baking pies, it’s going to get a serious workout. So, giving it a thorough cleaning beforehand not only ensures that it operates efficiently but also prevents last year’s flavors from gate-crashing your gourmet meal. Whether you decide to rely on professional house cleaners in Windsor Heights or want to attempt this yourself, you will know exactly how to tackle the oven by the end of this guide. 

Here’s how you can get your oven in tip-top shape before the big feast, making sure every dish tastes exactly as splendid as you intend.

Do baking soda and vinegar really clean ovens?

Baking soda paired with vinegar is a popular natural solution that effectively tackles oven grime without the use of harsh chemicals.

This method is especially appealing if you prefer eco-friendly sanitization methods before preparing your holiday meals.

Follow these steps to make your oven sparkle with these ingredients:

1. Remove the racks: Handle these separately to ensure you can reach every nook inside the oven.

2. Create a paste: Mix half a cup of baking soda with enough water to form a spreadable paste.

3. Apply inside the oven: Coat the oven’s interior surfaces with the paste, avoiding the heating elements.

4. Let it sit overnight: Allowing the paste to sit overnight will enable the baking soda to break down the grease and grime.

5. Wipe it off: Wipe the dried baking soda with a wet microfiber cloth and use vinegar in a spray bottle to spritz any stubborn areas. The interaction creates a fizzing action that helps lift residue.

6. Final touches: Wipe everything down with a damp cloth to remove any leftover residue.

This method will not only sanitize your oven but also deodorize it, making it ready for cooking your Thanksgiving feast.

What is the best thing to clean the inside of the oven with?

For more severe cases where natural solutions might not suffice, commercial oven products are an effective option. These are formulated to dissolve even the toughest baked-on food and grease. Here’s how to use them safely:

  • Prepare the area: Remove all oven racks and cover the floor and surrounding surfaces to protect from any drips.
  • Wear protective gear: Use gloves and, if possible, a mask to avoid inhaling the fumes.
  • Apply the product: Spray the product evenly across the oven’s interior, avoiding the heating elements.
  • Let it work: Allow the solution to sit for the specified time on the label, usually around 20 minutes.
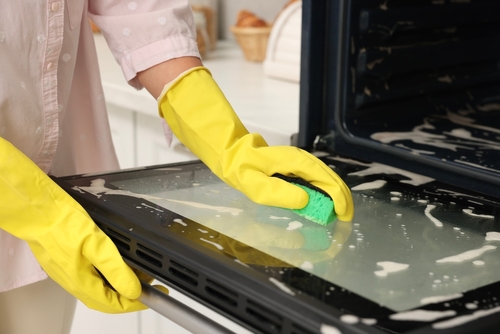
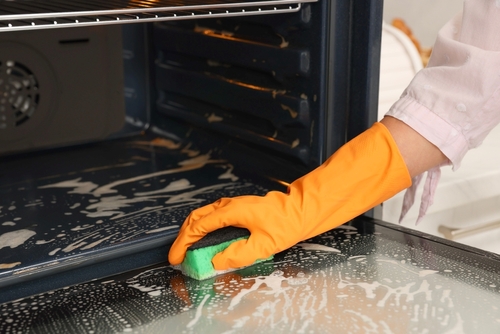
  • Scrub and rinse: Wipe away the solution with a sponge or cloth, scrubbing any stubborn spots. Rinse thoroughly to ensure no chemical residue is left.

Ensure the room is well-ventilated during this process to keep the air clear.

What is the best way to clean an oven door?

Keeping the oven door clean is important for monitoring your food as it cooks. Here’s how to achieve a streak-free glass:

  1. Mix a cleaning solution: Combine equal parts water and white vinegar in a spray bottle.
  2. Spray and wipe: Apply the solution generously to the glass, let it sit briefly, then wipe down with a soft cloth.
  3. Address any residue: For tougher stains, apply baking soda directly to the areas and scrub gently with a damp cloth.
  4. Dry the glass: Use a fresh towel to dry the door for a clear, streak-free look.

This approach ensures that you can keep an eye on your dishes as they cook without losing heat from opening the door.

How do I find reliable house cleaners in Windsor Heights and the surrounding area?

With your oven ready and waiting, you can focus on the finer details of your Thanksgiving preparations. If you find that tackling your oven is a bigger job than you have time for, consider calling in professionals. phClean offers thorough, efficient oven cleaning that will save you time and effort. With years of experience and a strong track record of success, we’re the go-to choice for homeowners who want to get a shiny space and reclaim their free time. 

Whether you need a thorough microwave cleanup or help with details like baseboard cleaning, you can count on us.  Whether you live in Windsor Heights, Clive, or any of the surrounding areas, we’re at your service. Contact us today to schedule your appointment and enjoy a pristine kitchen before and after the holidays!

Search blog posts
Recent Posts

How to Clean Baseboards and Keep Them Looking Fresh

How to Clean Baseboards and Keep Them Looking Fresh

Baseboards might not be the first thing you think of when cleaning, but they play a big role in how tidy your home looks. They tend to collect dust, dirt, and scuffs, which can make even a clean room feel less fresh. Luckily, keeping your baseboards looking great doesn’t have to be a chore. With a few easy steps, you can make sure they stay clean and fresh without much hassle. 

Some homeowners in Windsor Heights prefer to rely on professional house cleaning services for this type of detailed work. Whether you’re the type to leave this to the pros or tackle it yourself, here’s how you can scrub down your baseboards and keep them sparkling.

How often should baseboards be cleaned?

You don’t have to wipe down baseboards every day, but a little regular attention goes a long way. As a good rule of thumb, you could aim to tackle them once a month. For a deeper clean, every three to six months is usually enough, but if you have kids or pets, you might need to give them some attention more often. 

If you keep up with a regular maintenance schedule, you’ll prevent grime from building up and make each cleanup session easier and quicker. Sparkling baseboards also give your home that fresh, polished look, even if you haven’t had time for a full deep clean.

How to clean baseboards and keep them clean?

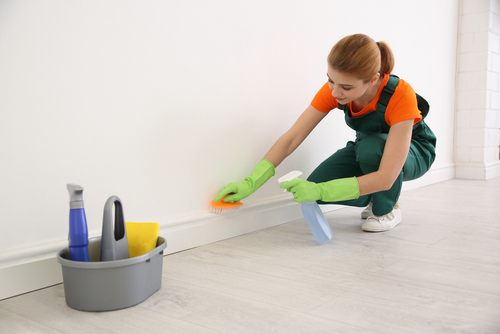
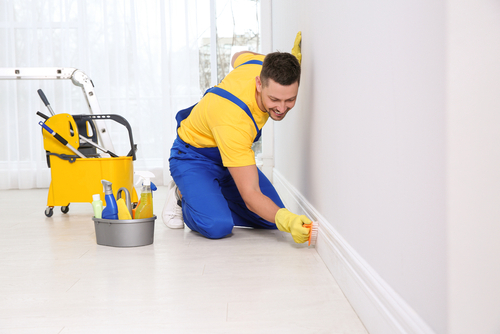
Scrubbing down your baseboards is easier than you might think. Follow these simple steps to get them looking like new:

Gather your supplies

You’ll need a soft cloth or duster, warm water, mild dish soap, a sponge, and a toothbrush for hard-to-reach corners. A magic eraser can help with stubborn marks, and dryer sheets will help keep them dust-free for longer.

Dust first

Start by removing loose dirt and dust with a dry cloth or vacuum with a brush attachment. This makes the actual cleanup much easier.

Create a cleaning solution

Mix a few drops of dish soap with warm water. Avoid using anything too harsh that could damage the paint or finish on your baseboards.

Wipe them down

Dip your sponge or cloth in the soapy water, wring it out, and wipe down the baseboards. Focus on areas where dirt tends to build up, like corners or spots near the floor.

Tackle tough spots

For scuff marks or sticky spots, use a magic eraser or a toothbrush to gently scrub away the grime.

Rinse and dry

Wipe the baseboards with a clean, damp cloth to remove any leftover soap, then dry them with a towel to prevent water marks.

Keep dust away longer

To help repel dust, wipe your freshly cleaned baseboards with a dryer sheet. This will help keep them looking fresh for a longer time.

Once your baseboards are sparkling, keeping them that way is simple. A quick dusting every few weeks will stop dust from building up, and giving them a light wipe-down once in a while will keep them looking their best. In areas that see more traffic, a clear wax or finish can help prevent scuffs, so keep that in mind if your home is a busy space.

Where in Windsor Heights and the surrounding area can I find reliable house cleaning services?

Keeping your baseboards clean is just one of those small tasks that make a big difference in your home’s appearance. If juggling all the chores feels overwhelming, phClean is here to help. Our experienced and respectful cleaning techs will make sure every corner of your home sparkles, from baseboards to bathrooms and even the inside of the microwave, should you wish so. Enjoy a day in one of Windsor Heights’ great parks, while we work our magic or stay home and relax. Get in touch today to book your appointment and enjoy a shiny home that looks and smells amazing!

Search blog posts
Recent Posts

A Guide to Cleaning Your Computer Screen and Keyboard

A Guide to Cleaning Your Computer Screen and Keyboard

Electronics are notorious for collecting dirt and debris and your computer screen and keyboard are no exception. If you don’t tend to them on a regular basis, you’ll end up with an unsightly mess and oily smudges ruining your monitor’s display quality. The truth is, with some basic supplies and several minutes of your time, you can keep your device in optimal shape

While a reliable house cleaning service in Des Moines will also take proper care of your electronics, you can make sure your screen remains spotless between visits with some handy tips. Read on!

What should I clean my computer screen and keyboard with?

Most of the supplies you’ll need are probably already a part of your arsenal, so let’s see what’s best to use and how:

Can I use alcohol wipes to clean the computer screen

Tools

For starters, you’ll need a clean microfiber cloth. Avoid using paper towels or cotton rags as they can leave behind dusty debris. You can also invest in pressurized canned air, which you can get at a grocery or electronics store. 

Solutions

As for cleaning solutions, what you should definitely steer clear of is bleach and ammonia-based products. They’re too harsh and can easily damage your computer surfaces. A simple solution of equal parts water and dish soap will do just fine. In addition, rubbing alcohol is a great disinfectant you can use on your keyboard, with the benefit of drying quickly.

The process

Make sure your computer is off and completely unplugged before you start. You don’t want to accidentally wipe out your desktop shortcuts or delete an important document while cleaning the keyboard:

  • Use the canned air to remove dirt and debris that’s lingering around the screen edges and under the keys. However, make sure to keep some distance between the nozzle and computer surface and only press in very short bursts of less than a second. 
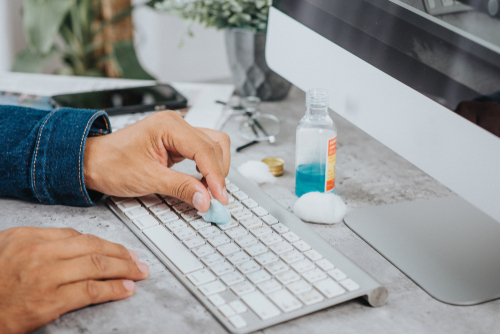
  • Lightly dampen a microfiber cloth with alcohol and gently wipe to disinfect the keys. Be careful not to simply wipe over the entire keyboard as the cloth can catch on key edges and tear them off. Instead, dedicate a couple of seconds to each key. 
  • To clean the screen, dampen the microfiber cloth with water and see what you can do with just that. Go from the edges inward and apply close to no pressure at all. For any marks or tough stains, go with the solution of water and dish soap. In any case, make sure no liquid drips into the edges of the screen. 

Can I use alcohol wipes to clean the computer screen?

It’s generally recommended not to use any kind of alcohol on your screen as it can damage it. It’s best to stick with the soft microfiber cloth, plain water, and occasional treatment with diluted soap for stubborn stains. However, you can use alcohol wipes to give a light wipe down to your keyboard. 

Can I use Windex on my computer screen?

You should never use any kind of household cleaning products on your screen, Windex included. The substances contained in these products can damage the anti-glare coating and other protective layers and eventually cause permanent damage. 

Can I use Windex on my computer screen

Looking for a trusted house cleaning service in Des Moines?

Whether it’s time to deep clean your freezer, take care of that living room, give a thorough scrubbing to your bathroom, or you simply don’t have enough time for all the vacuuming and dusting, look no further than phClean. We’re your trusted team of skilled and dedicated cleaning techs, ready to give your home a thorough treatment and leave it sparkling. Spend an inspiring day at the Des Moines Art Center and let our pros do the rest. Call today!

Search blog posts
Recent Posts